Table of contents
Open Table of contents
- Introduction
- The printer problem
- Finally deciding to fix it
- Enough Talk, How to do it?
- 9. Final Touchups: Avahi (ZeroConf / Bonjour)
- Some Caveats That You Should Know
- Final Thoughts
Introduction
Around the end of 2024, my free-tier cloud VMs were nearing their expiration, and I needed something to run a few self-hosted services. After doing the math, it made more sense to get a Raspberry Pi instead of continuing to pay for cloud compute. I was already familiar with Cloudflare Tunnels and Tailscale, so static IPs weren’t a concern (more on the homelab setup in another post).
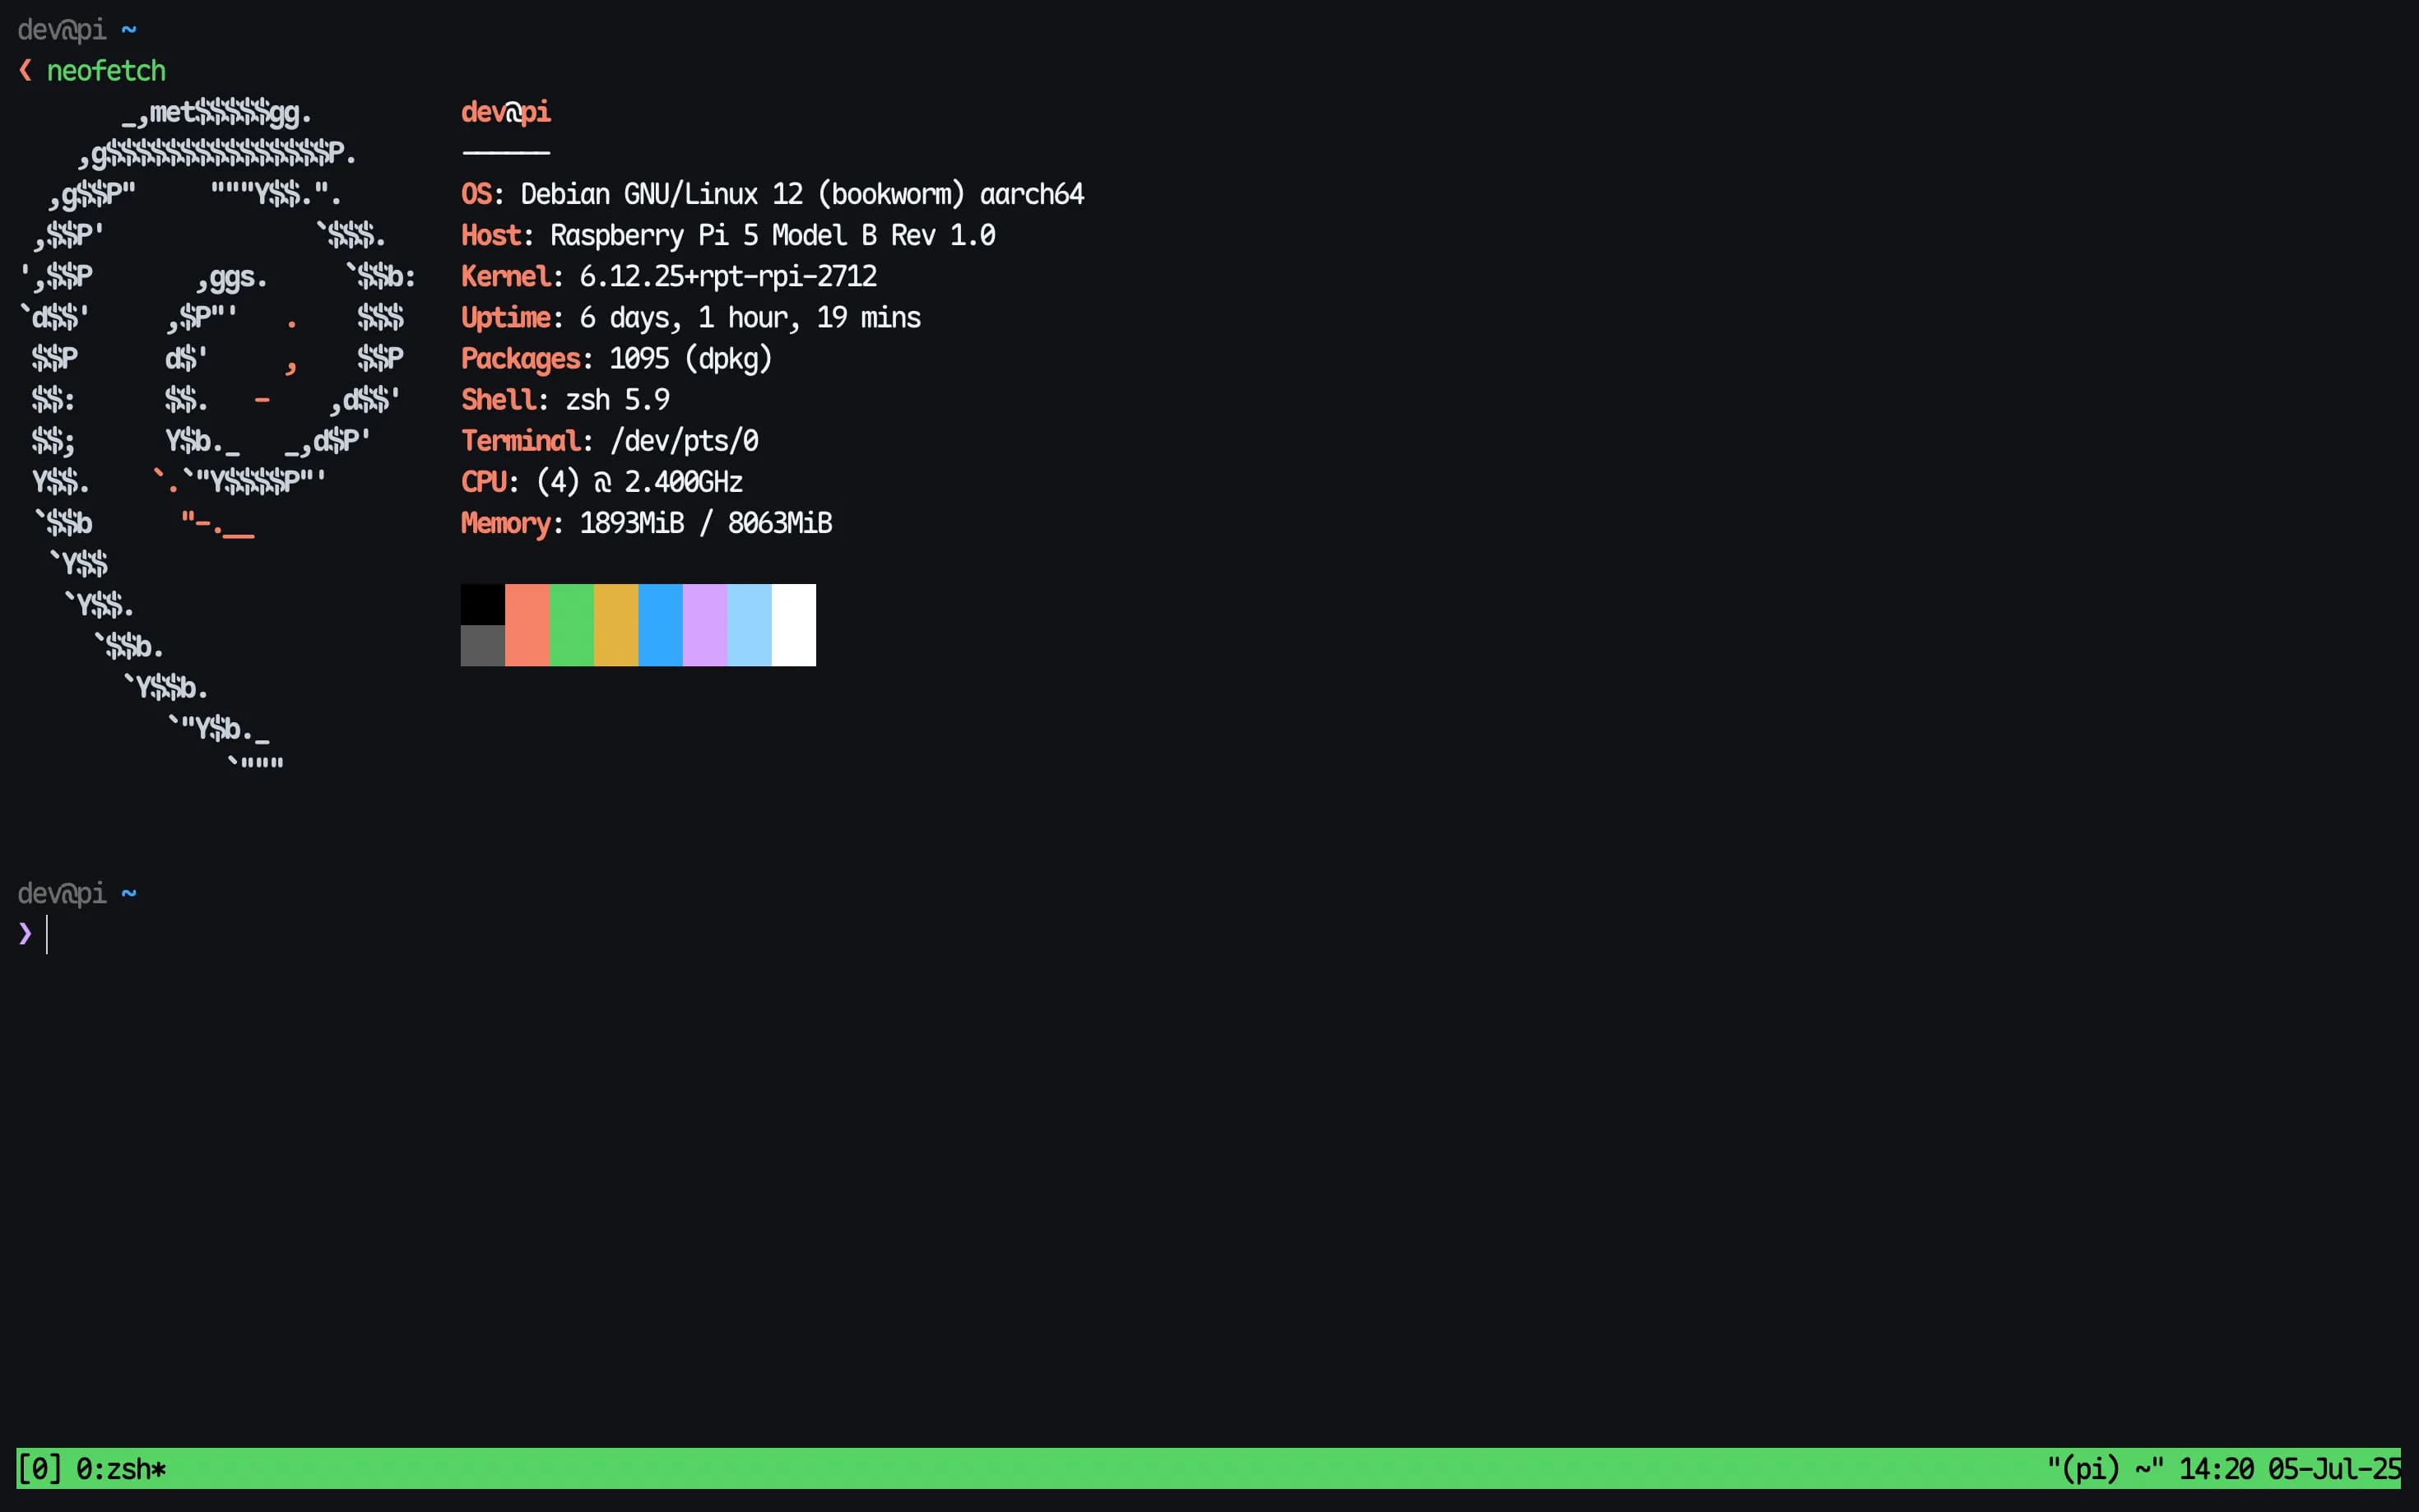
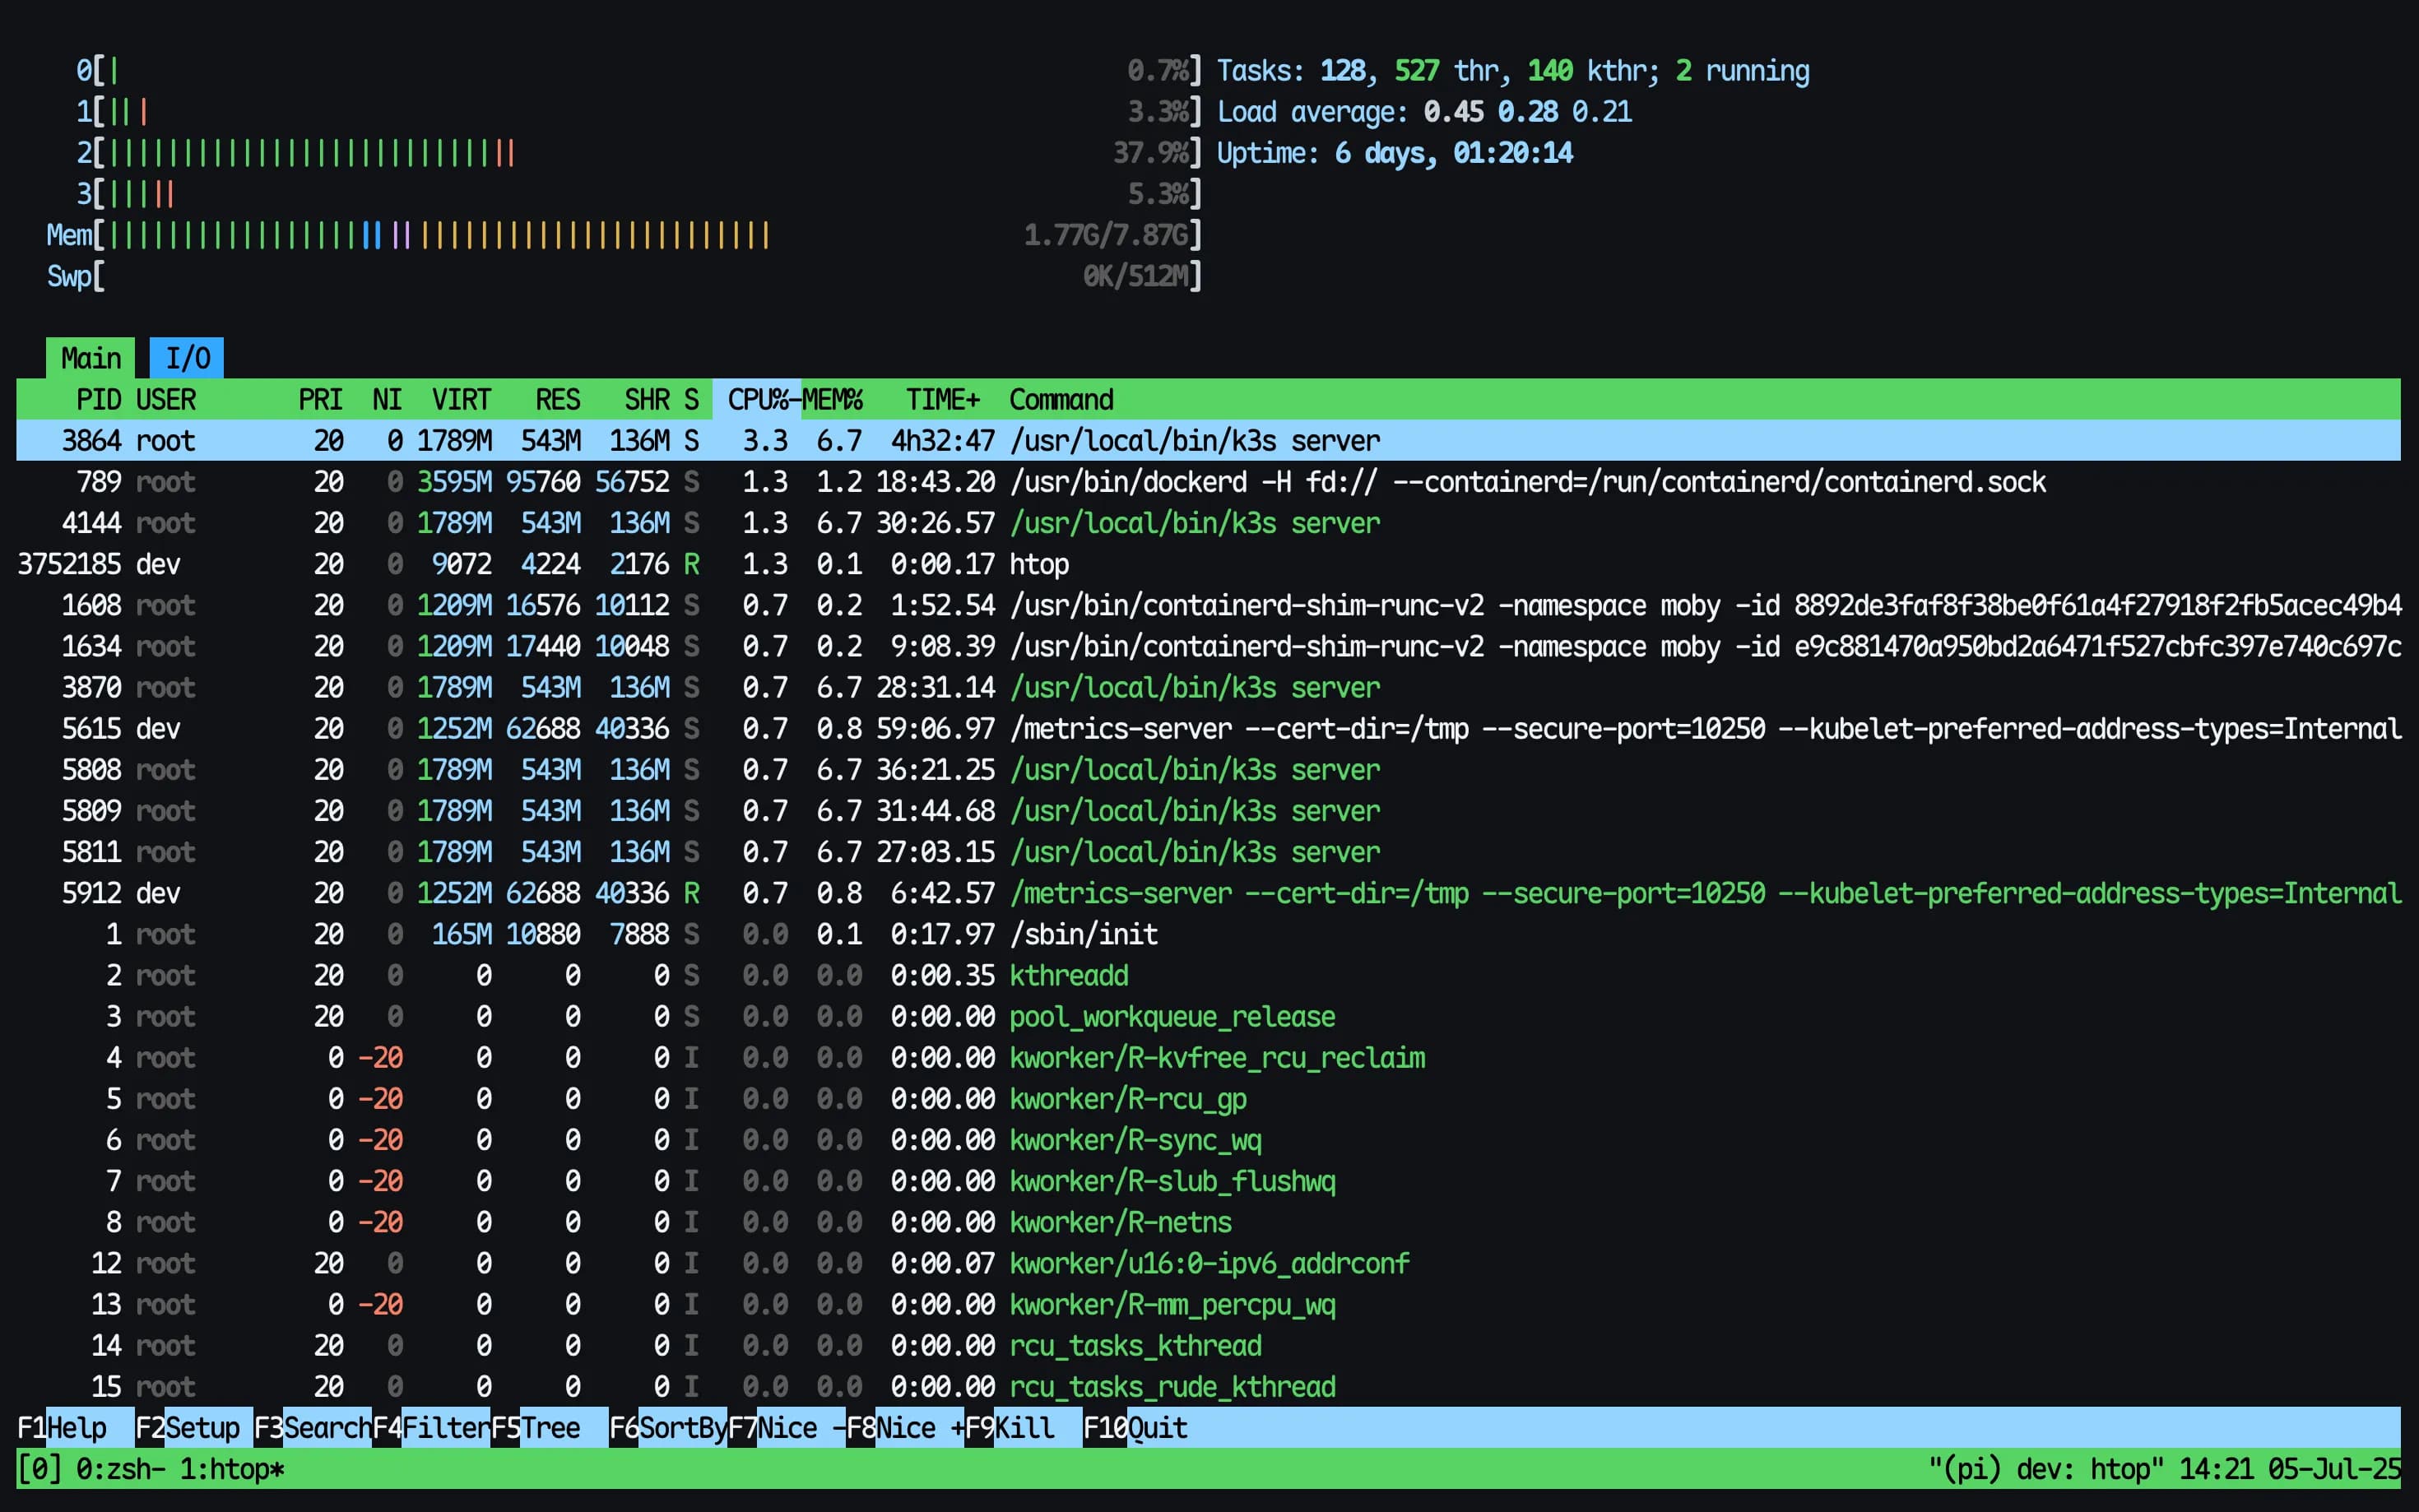
I bought a Raspberry Pi 5 Model B (8GB RAM), a 256GB SD card with good write endurance, a case, and the power supply. Flashed Debian Bookworm Server onto it, installed Docker and some essentials, and started hosting a few of my services. Even with containers and a couple of headless browsers humming along, the Pi just chilled.
See, how the Pi is barely sweating:
The printer problem
I had an Epson L3110 inktank printer at home for years. It’s reliable, prints well — but it’s strictly USB. No Wi-Fi. No network capability.
Every time someone needed to print, the drill looked like a mini side quest:
- Transfer the file to a laptop or phone with a USB-C port
- Boot up the device
- Plug in the printer
- Move the file over
- Hit print
- Wait for the job to finish
- Unplug the printer
All in, it’s a solid 5-minute ritual—every single time. Printing shouldn’t feel like compiling code with 100+ dependencies.
One thing I tried was using the USB port on my router. It looked promising—right up until I ran into vendor lock-in. Flashing custom firmware was more trouble than it was worth. I always had a feeling the Pi could handle it, just never got around to setting it up.
Finally deciding to fix it
That Sunday came. I’d been using Linux long enough to know about CUPS — the Common UNIX Printing System. It’s a modular printing system developed by Apple that allows a computer to act as a print server. It uses the Internet Printing Protocol (IPP) and supports drivers, filters, and backends for converting print jobs and interfacing with physical printers.
It can make a USB printer available over the network, support job queueing, handle authentication,
and even expose web-based management at localhost:631. It’s what Linux uses behind the scenes when
you hit “Print.”
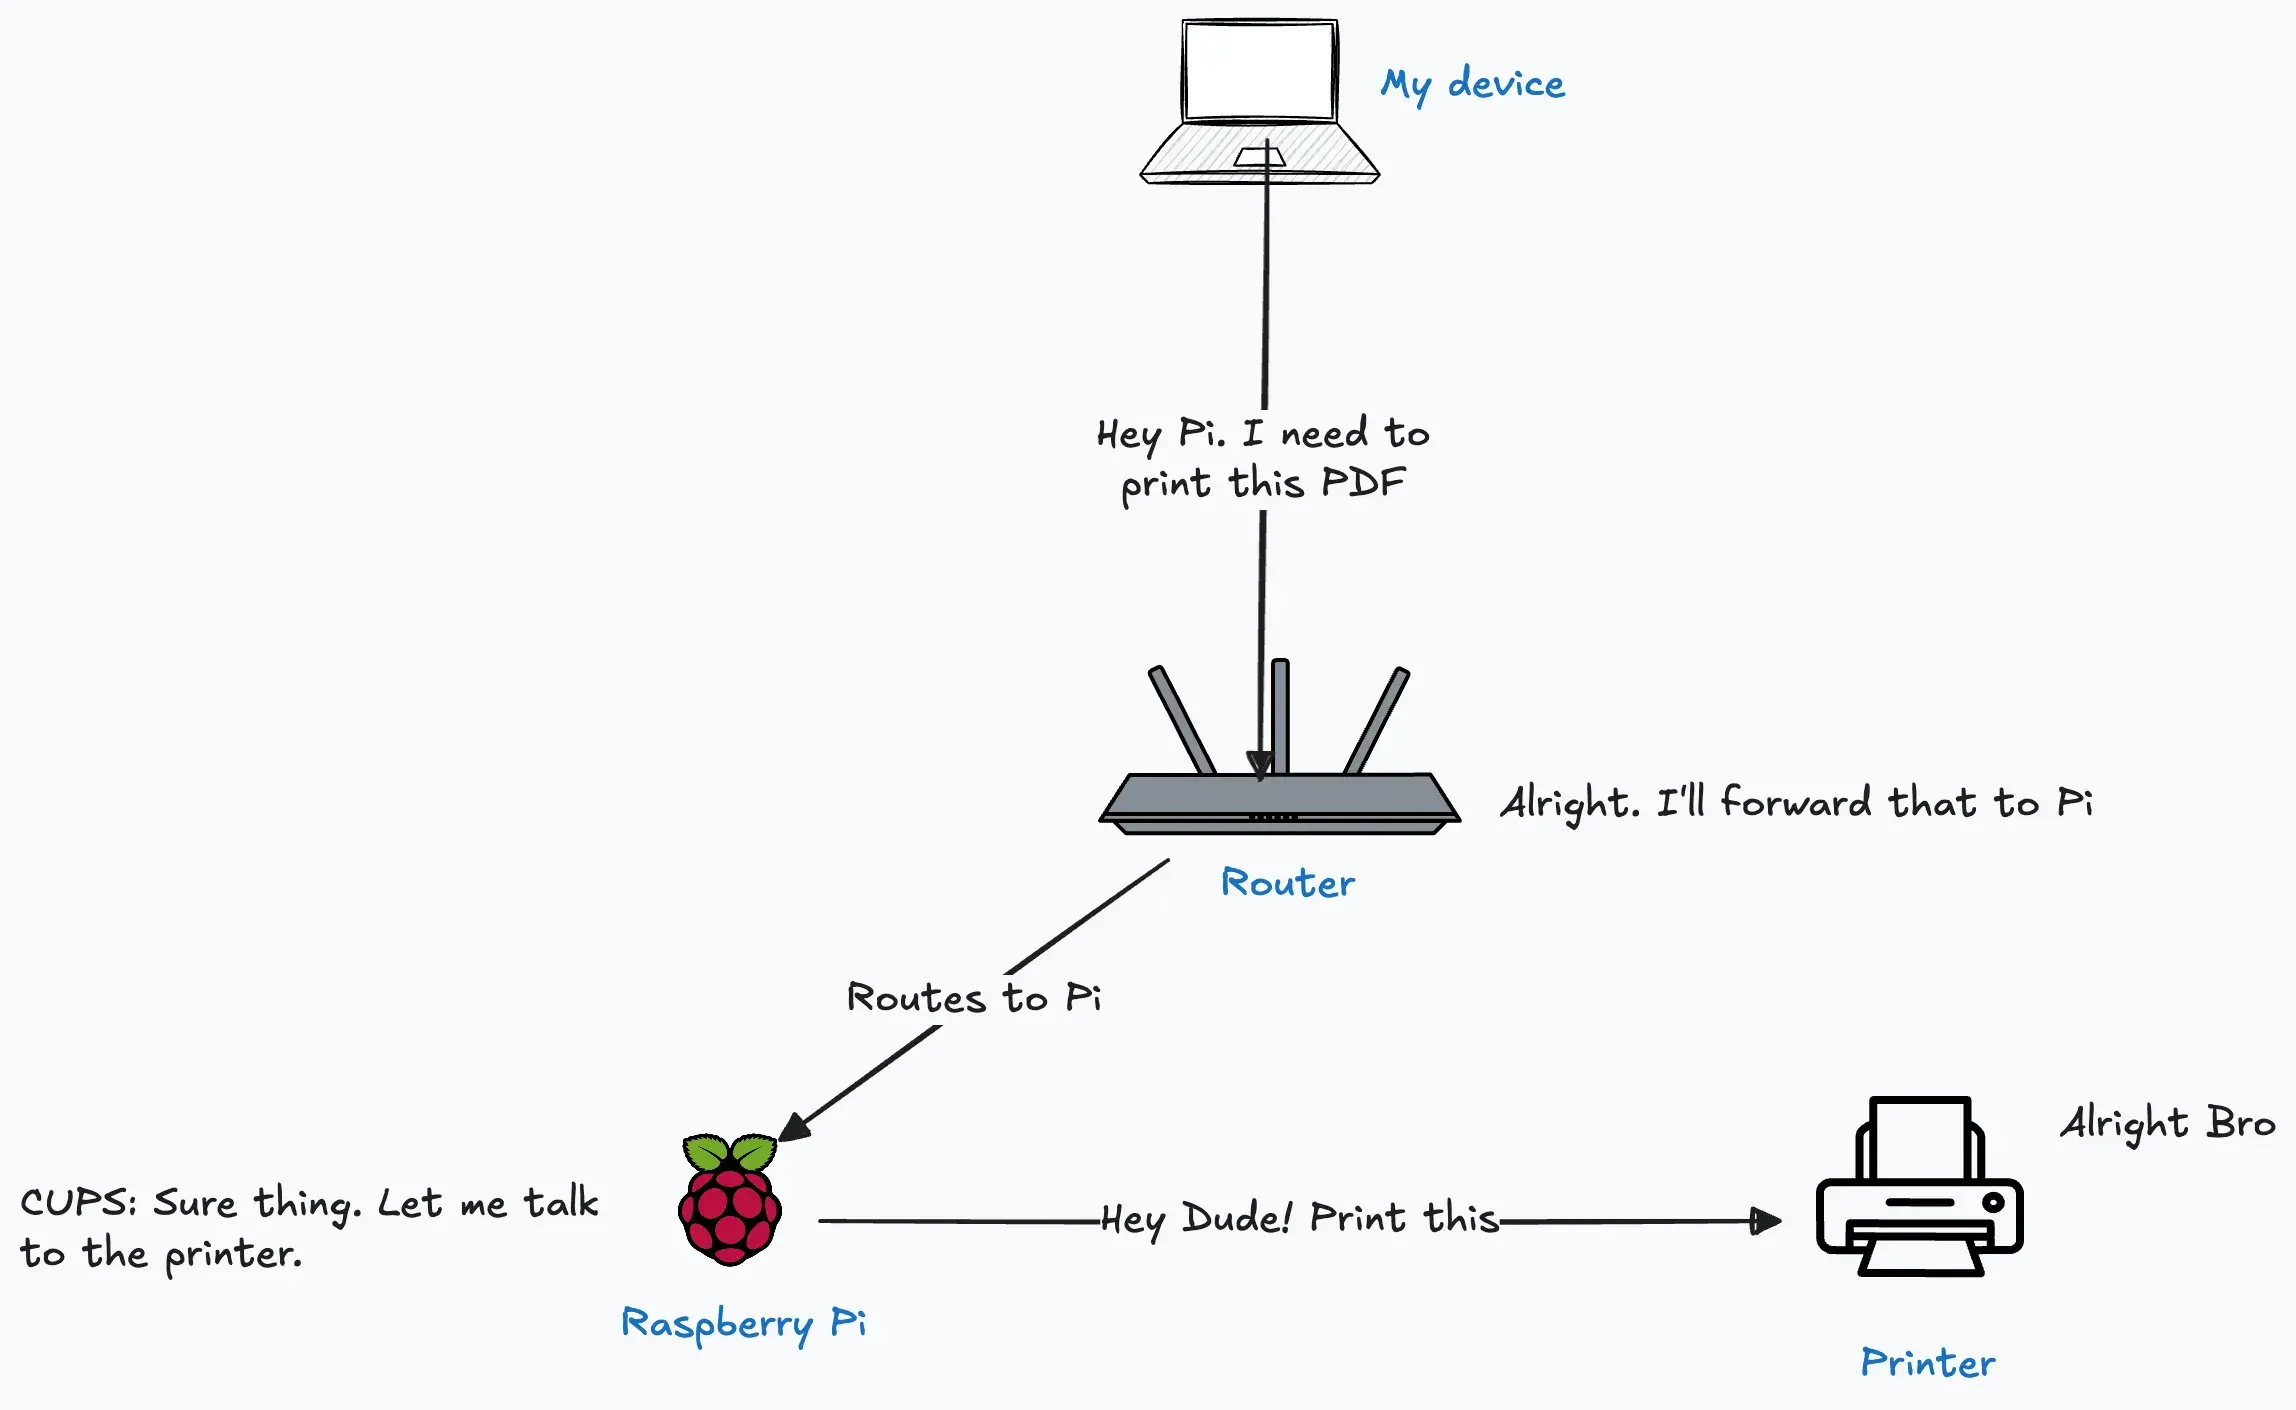
My plan: connect the USB printer to the Pi, install and configure CUPS, make the printer network-accessible — and ideally never deal with file transfers for printing again.
This is a dead simple diagram of the setup:
Enough Talk, How to do it?
1. Plug the printer into the Pi
Connect the printer via USB and make sure it shows up:
lsusbYou should see something like Epson or Canon listed. If it’s detected, you’re good.
2. Install CUPS
sudo apt update
sudo apt install cups
Enable and start the service:
sudo systemctl enable cups
sudo systemctl start cups
3. Add your user to the lpadmin group
CUPS restricts admin access to users in the lpadmin group:
sudo usermod -aG lpadmin $USER
newgrp lpadmin
4. Test: Print from the terminal (important!)
Before messing with config files and web UIs, try printing a test page directly:
lpstat -p -d # See if printer is recognizedIf it’s listed, try:
echo "Test page from Pi" | lpThis sends a simple print job. If it prints — great. CUPS is working.
If not, check with:
lpqor:
journalctl -u cups -n 505. Configure CUPS to allow network access
By default, CUPS binds to localhost. Let’s open it up.
sudo vim /etc/cups/cupsd.conf5.1 Listen on all interfaces
Listen 0.0.0.0:631
# Listen [::]:631  # Optional IPv6
5.2 Allow access from LAN
<Location />
  Order allow,deny
  Allow @local
</Location>

<Location /admin>
  Order allow,deny
  Allow @local
</Location>
6. Restart CUPS
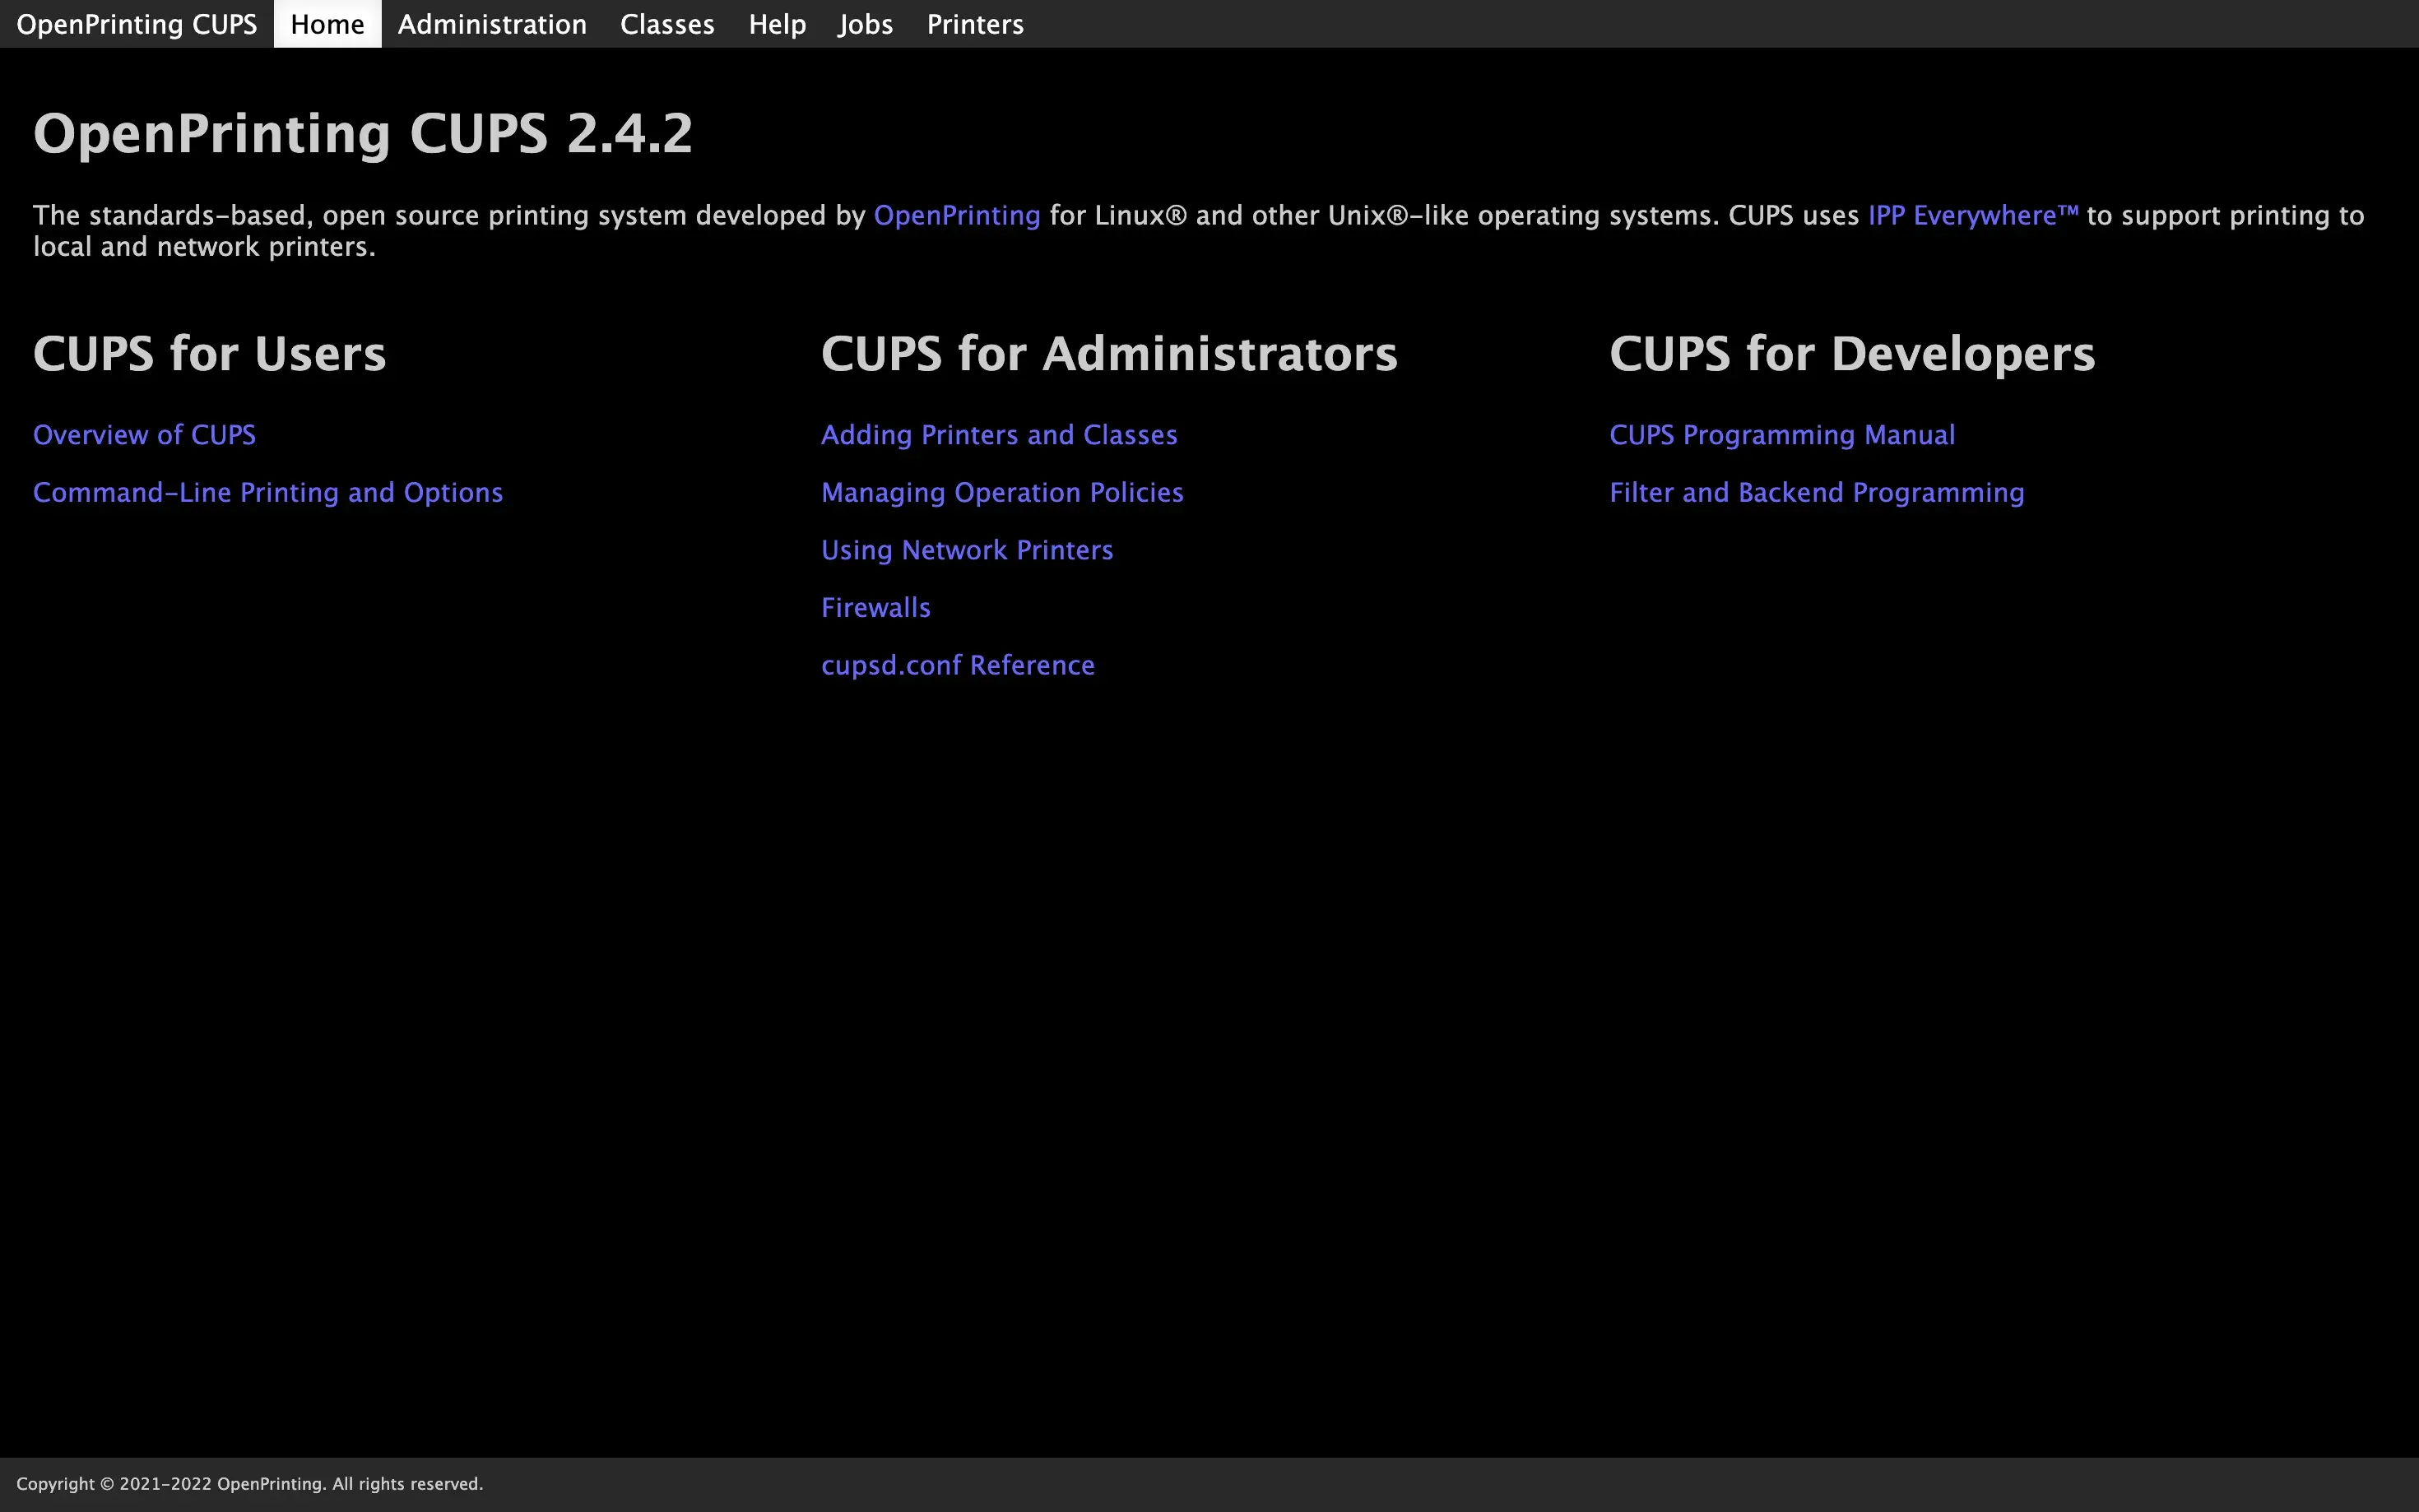
sudo systemctl restart cupsYou should now be able to visit:
http://<your-pi-ip>:631You should see the CUPS web UI like this:
7. Add the printer via web interface
- Go to Administration → Add Printer
- Log in with your Pi user creds
- Select your printer
- Name it
- Select a driver (if your printer is not listed, you may have to install the drivers — Don’t worry. Just google it and you will find the right packages)
- Finish and verify it shows under Printers
8. Enable printer sharing
From CUPS UI:
- Go to Printers
- Click the printer
- Admin → Set As Shared
Or via CLI:
lpoptions -p <printer-name> -o printer-is-shared=true9. Final Touchups: Avahi (ZeroConf / Bonjour)
To avoid remembering IP addresses, use Avahi to broadcast the Pi on your LAN using mDNS.
9.1 Install Avahi
sudo apt install avahi-daemon
sudo systemctl enable avahi-daemon
sudo systemctl start avahi-daemon
Now your Pi (and printer) should be reachable at:
http://raspberrypi.local:631Replace
raspberrypiwith your Pi’s hostname if changed.
Some Caveats That You Should Know
-
Android support is inconsistent. Some devices detect mDNS printers, some don’t. Blame Android.
-
If it fails, install the NetPrinter app — it works because:
- It supports IPP natively (what CUPS exposes)
- Lets you manually enter the printer URL:
http://raspberrypi.local:631/ - Bypasses Android’s flaky discovery stack entirely
Steps:
- Install NetPrinter
- Tap + to add printer
- Enter raspberry pi cups service URL
- Save and print
Final Thoughts
After one hour of hacking. This is what I got:
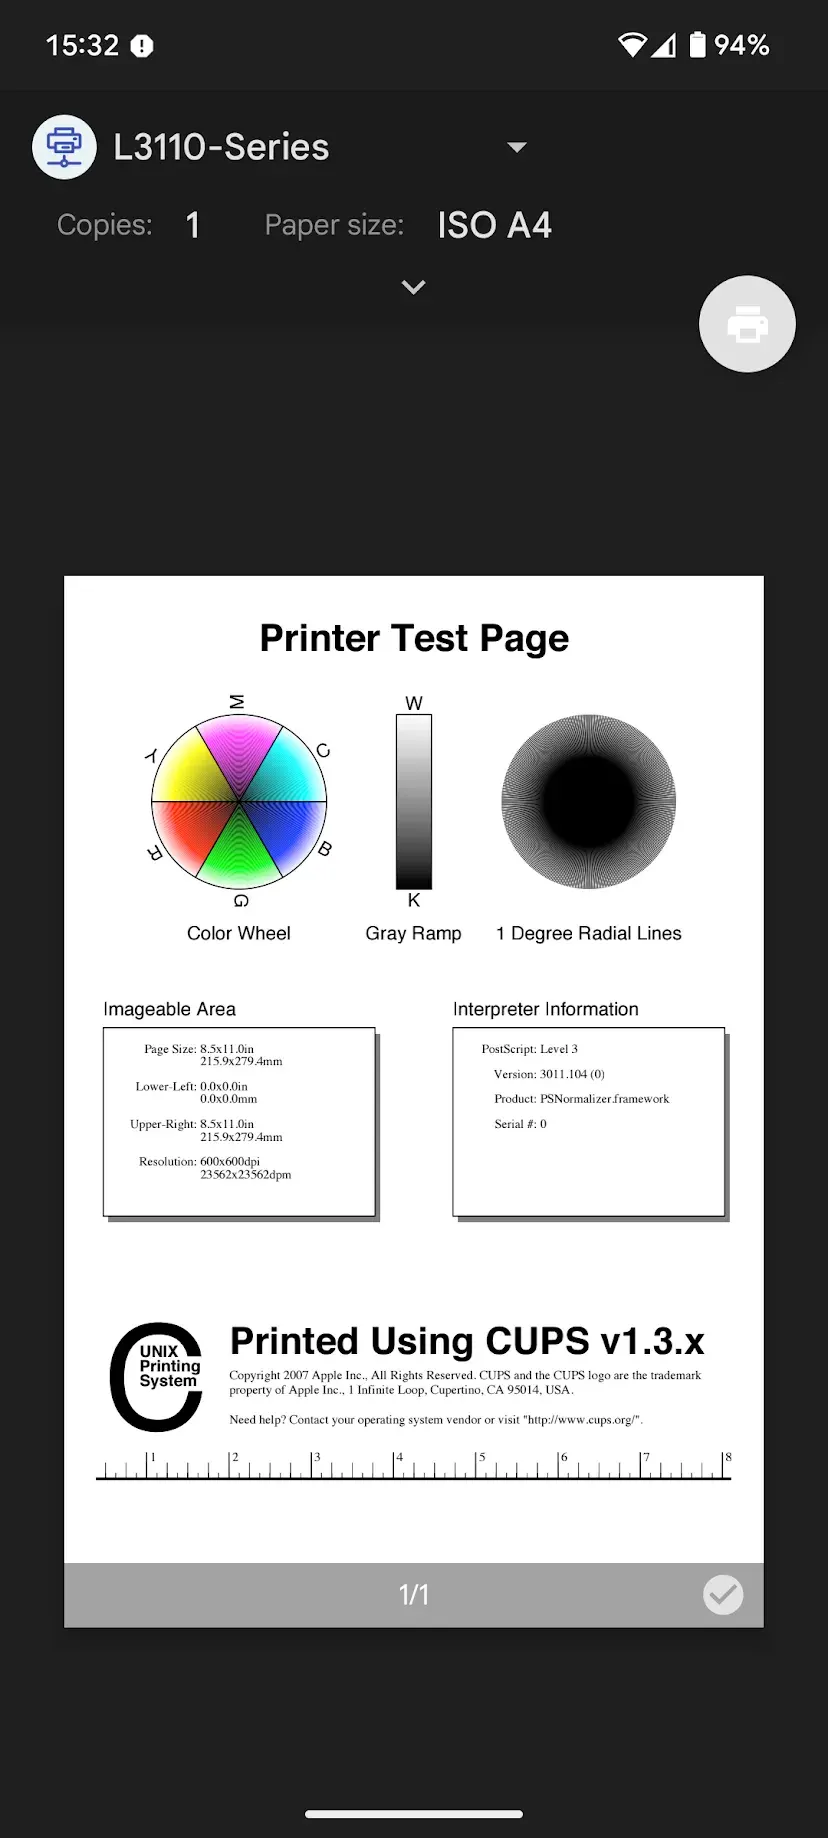
No more cable swapping, no more file transfers, no more printer amnesia. Just a printer that shows up on the network like it should’ve from day one.
Also — a fun bit of trivia — the origins of the Free Software Movement actually trace back to a printer driver problem at MIT. Richard Stallman got annoyed that he couldn’t fix the bugs in a Xerox printer because the driver was proprietary. He decided that software should be free to study, modify, and redistribute — and thus, a movement was born.
In a weirdly poetic way, fixing a printing problem with free software on a $60 single-board computer feels like it closes that circle.
In the end, it’s not just about printing. It’s about control. It’s about choosing tools that don’t fight you. It’s about that quiet satisfaction when something works because you made it work.
Happy hacking, hackers. Keep the spirit alive.